
Billing & Checkout
See the bill behind the total.
Review service charges, medication amounts, laboratory items, package deductions and payment history within the checkout workspace.
Billing & operations
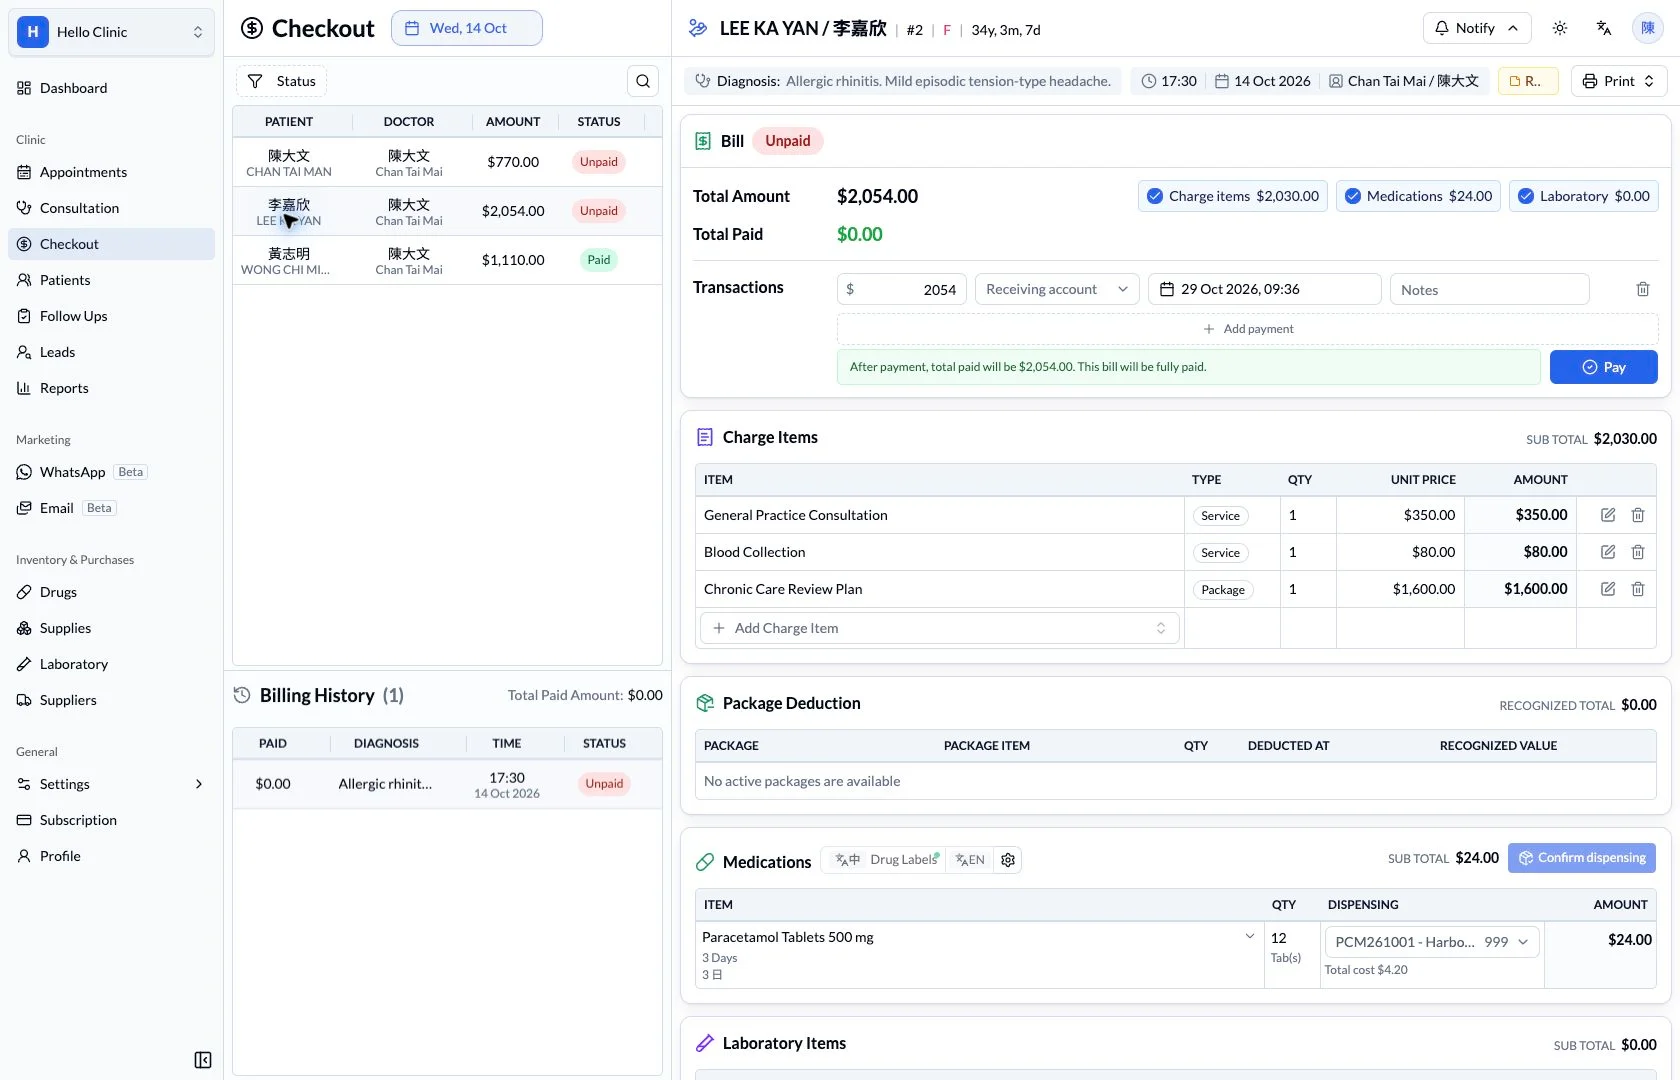
Check charges and payments before the patient leaves
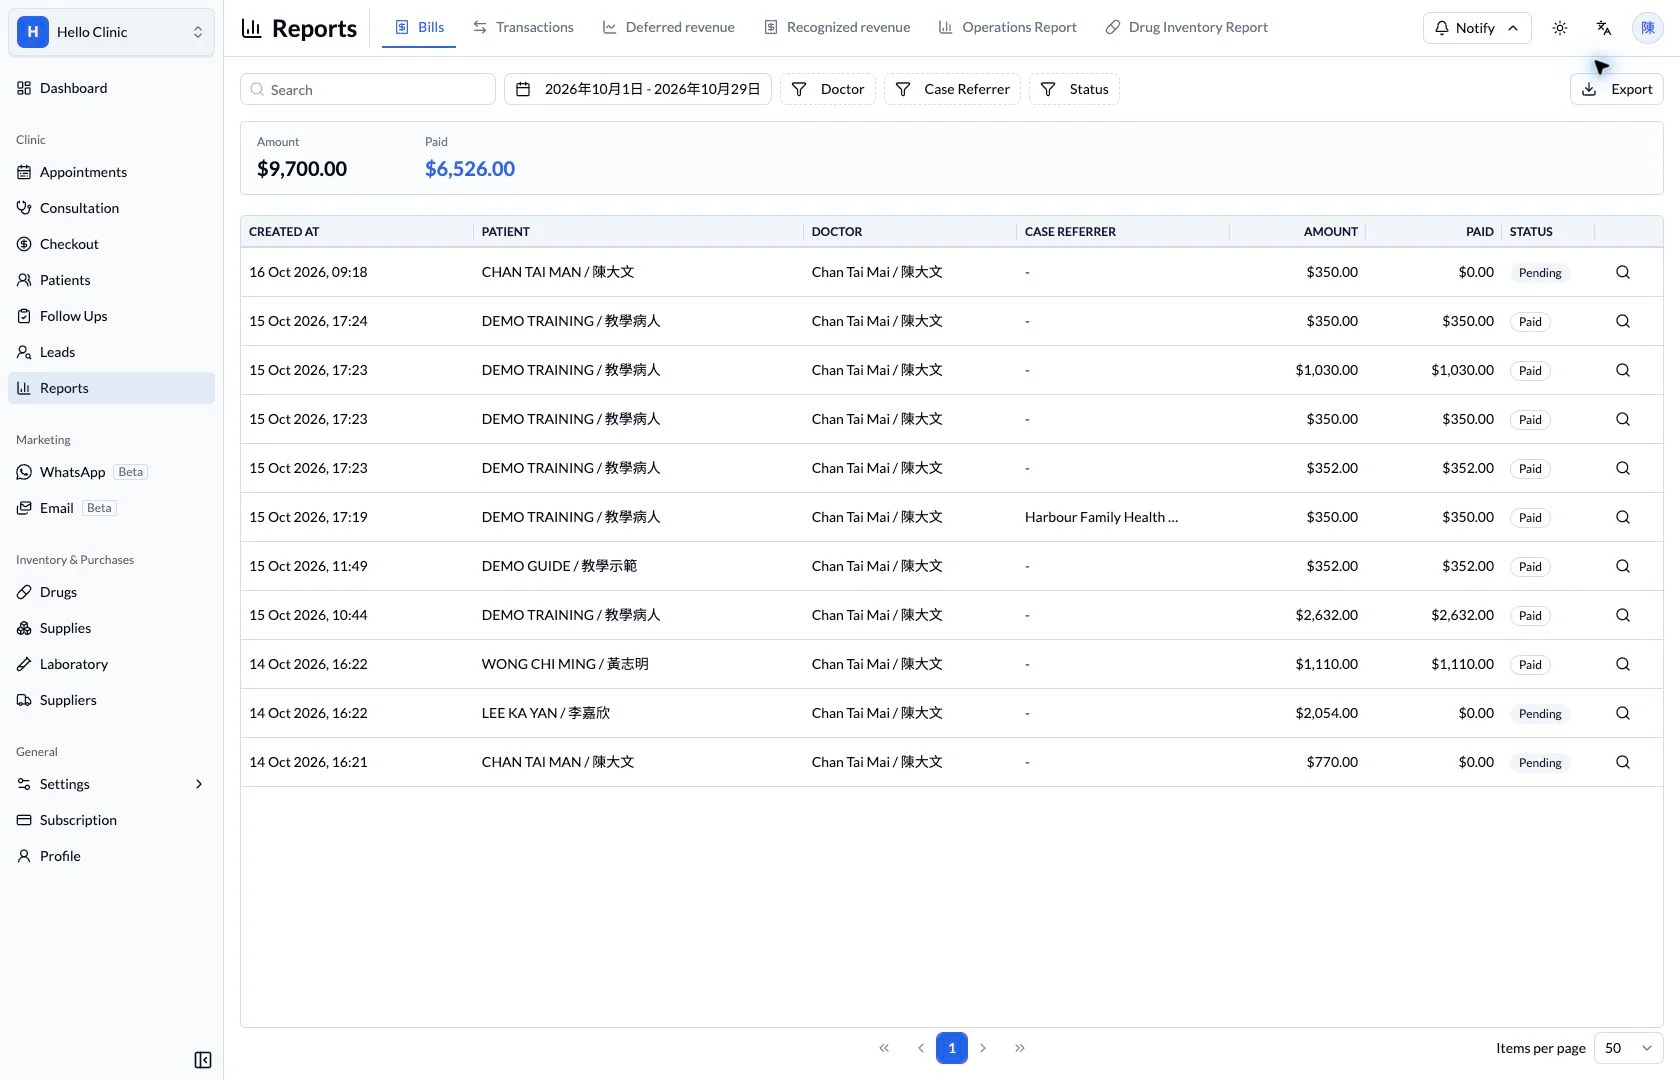
A visit may include consultation fees, medicines, investigations and a package. Reception first checks the charges, then the payments and receipt. The transaction record also provides a place to investigate questions during end-of-day reconciliation.
- Checkout staff
- Check charges, payments and receipt requirements.
- Supervisor or accounts staff
- Review transaction status and reconciliation differences.
Understand what the bill contains
Bill details separate services, packages, medicines and laboratory items, with the total and paid amount shown together. Reception can explain the charges to the patient, while a supervisor can review how the total was built up.
- Review items, quantities and amounts by category.
- Compare total and paid amounts with the bill status.
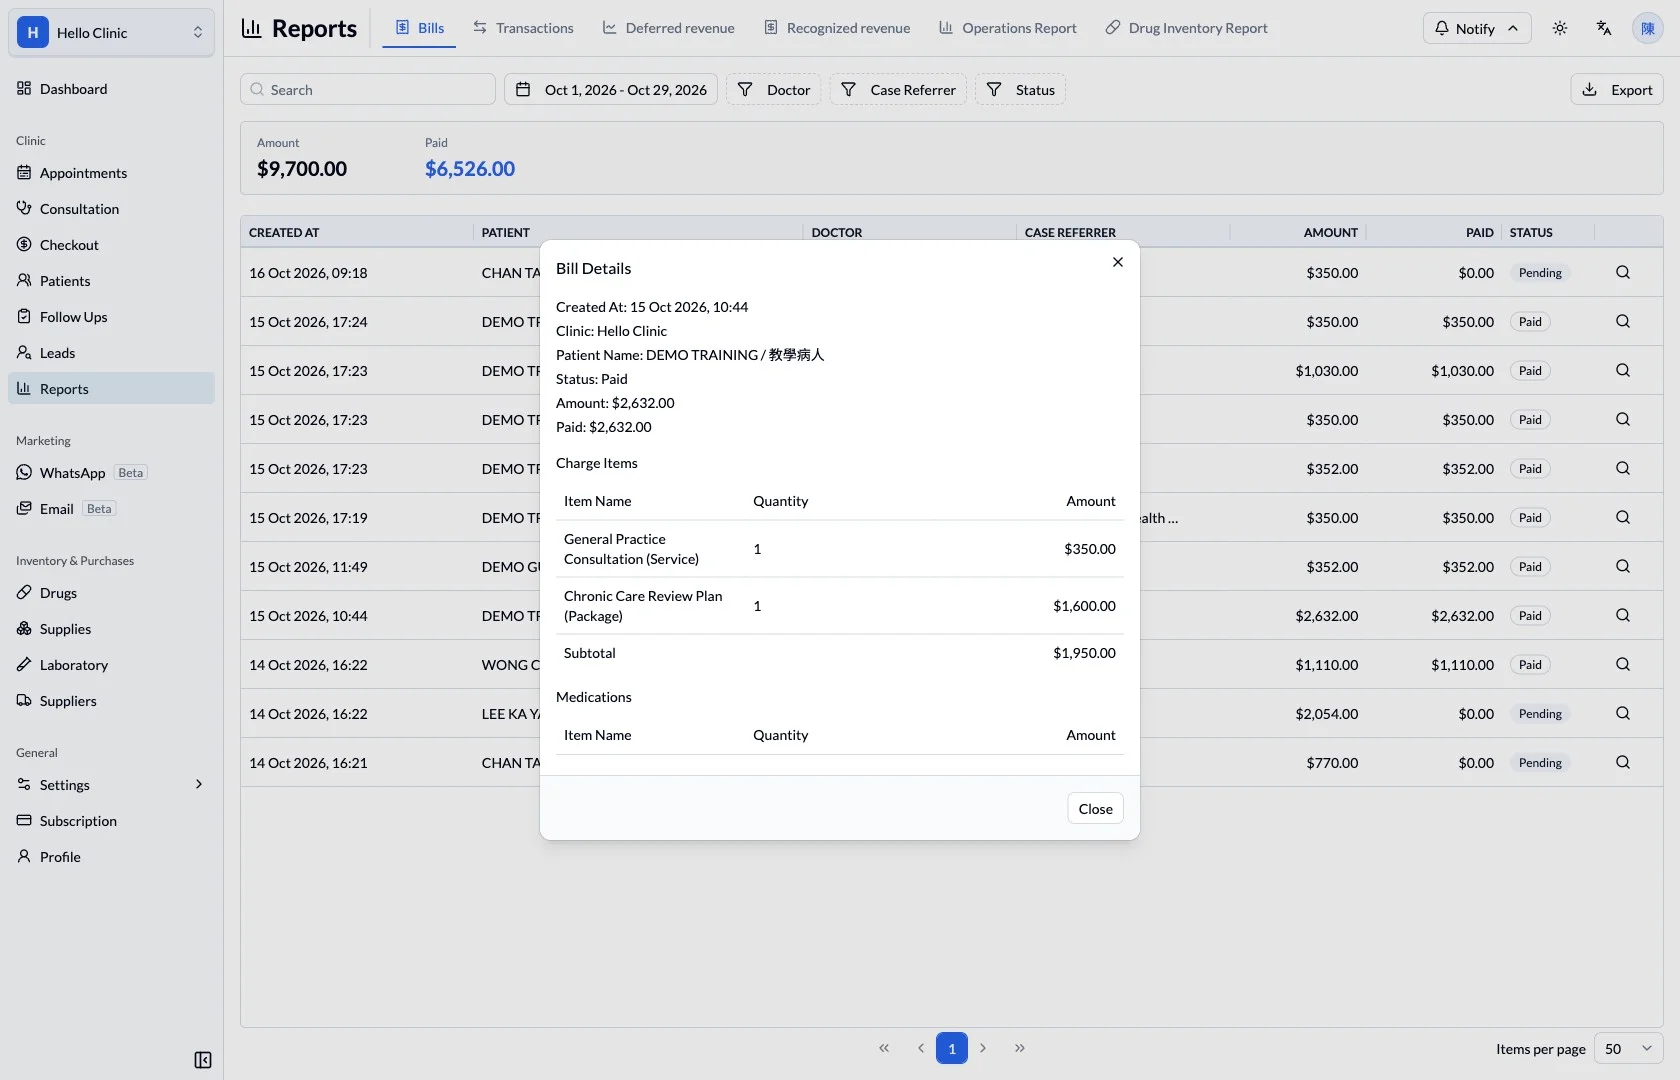
Review payment entries and reversals
The checkout workspace lists payments and refunds with their amounts, accounts, times and status. Where payment was split or an entry corrected, staff can distinguish valid and reversed records to understand the current bill.
- Check receipts by account and transaction time.
- Distinguish reversed entries from valid transactions.
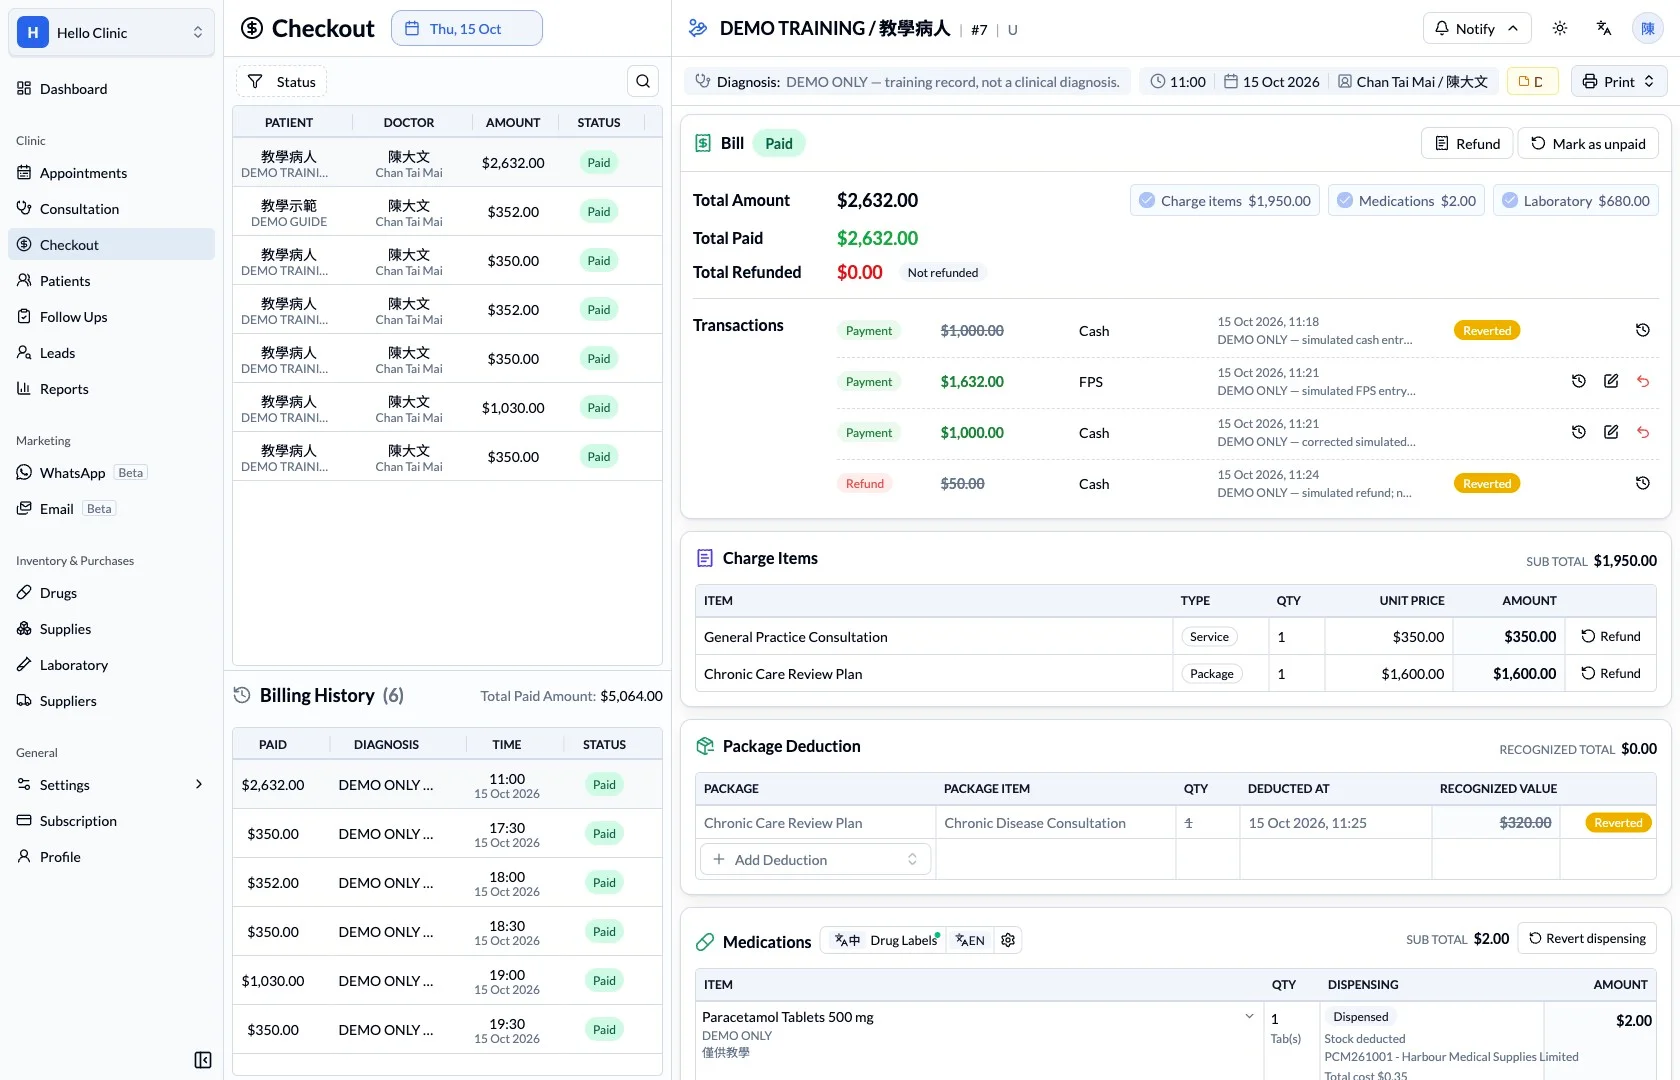
Choose the document the patient needs
The print menu separates invoices, payment receipts and other visit documents. Reception can establish which document the patient needs and verify the patient and bill information before producing it.
- Choose an invoice or receipt according to its purpose.
- Verify the patient and current bill before printing.
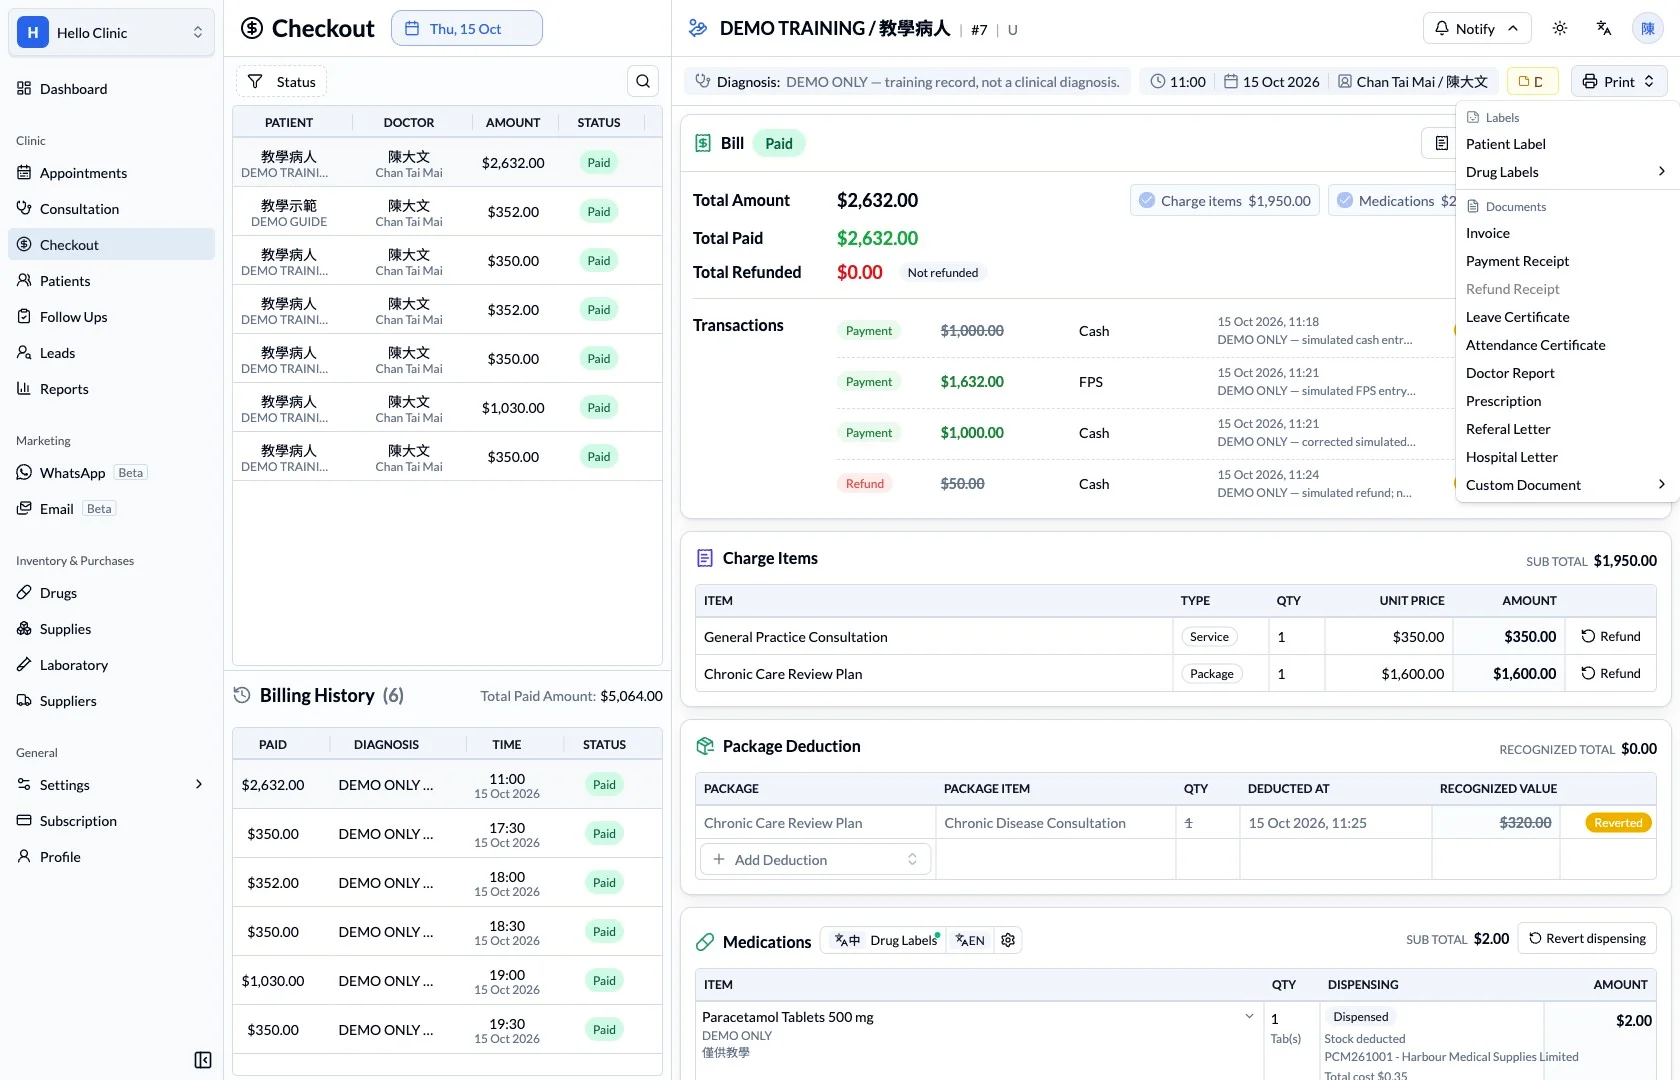
What this helps you do
- Itemised charges
- Keep service, medication and laboratory subtotals visible.
- Payment context
- Review total amount, paid amount and transaction details.
- Connected visit
- Keep the patient, clinician and consultation context beside the bill.
How it fits the clinic day
Review the patient and charge items.
Check deductions and the outstanding amount.
Confirm the payment details and receipt.
From clinical work to an itemised bill.
Checkout brings the bill’s components together so staff can explain the total and review the recorded payment state before taking the next action.
Keep the next handover clear
At checkout, verify the bill status against the money actually received, then provide the required documents. During reconciliation, review valid transactions with their bills and distinguish reversed entries to avoid double counting.